Glowforge Aura Engrave Settings Pt. 1
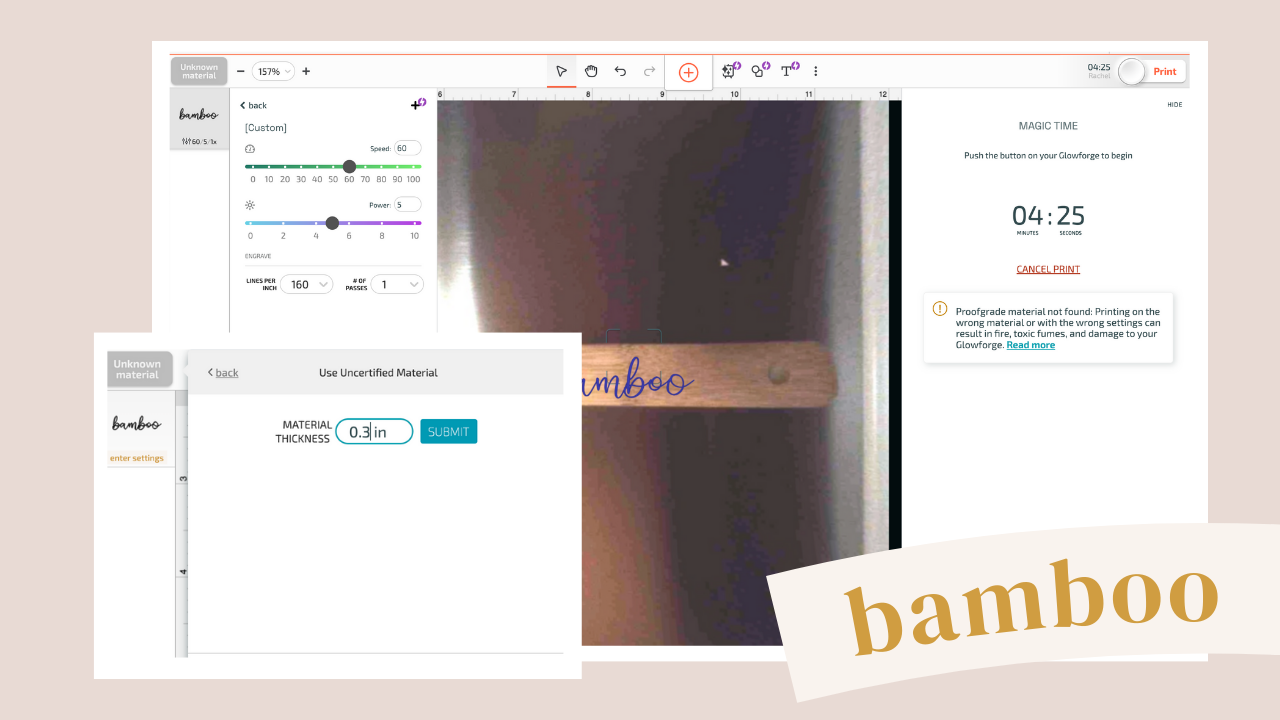
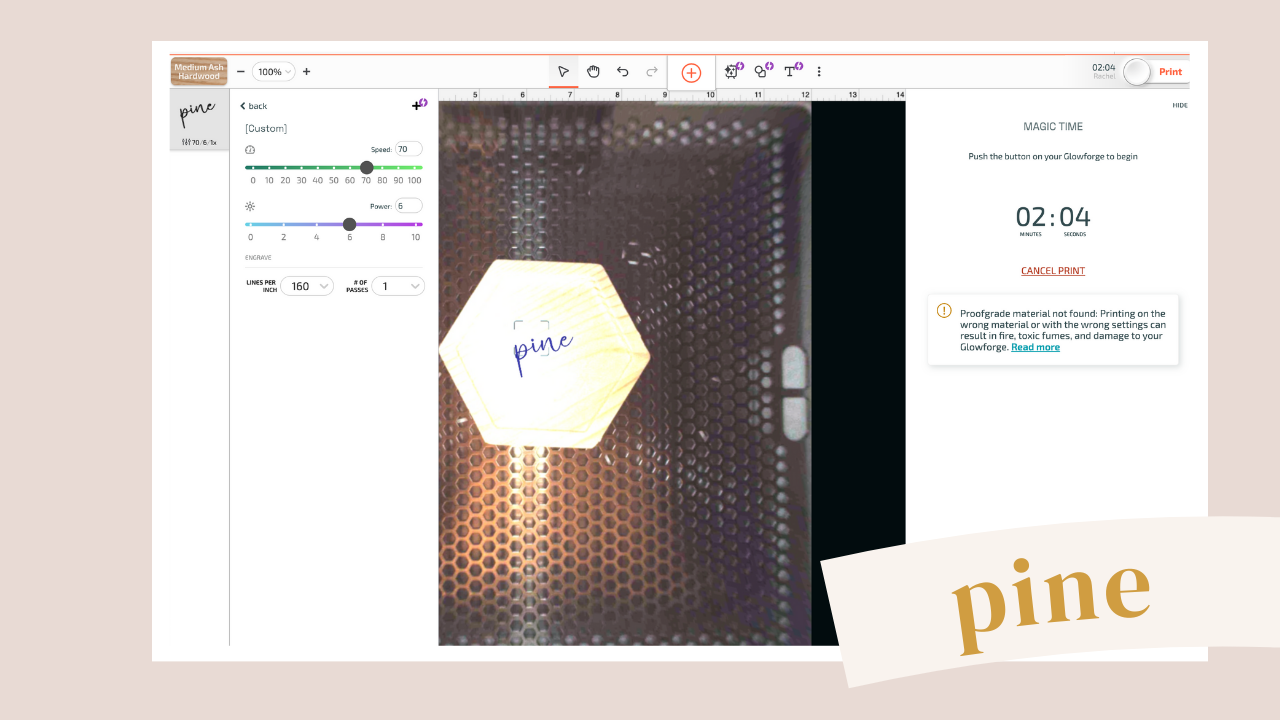
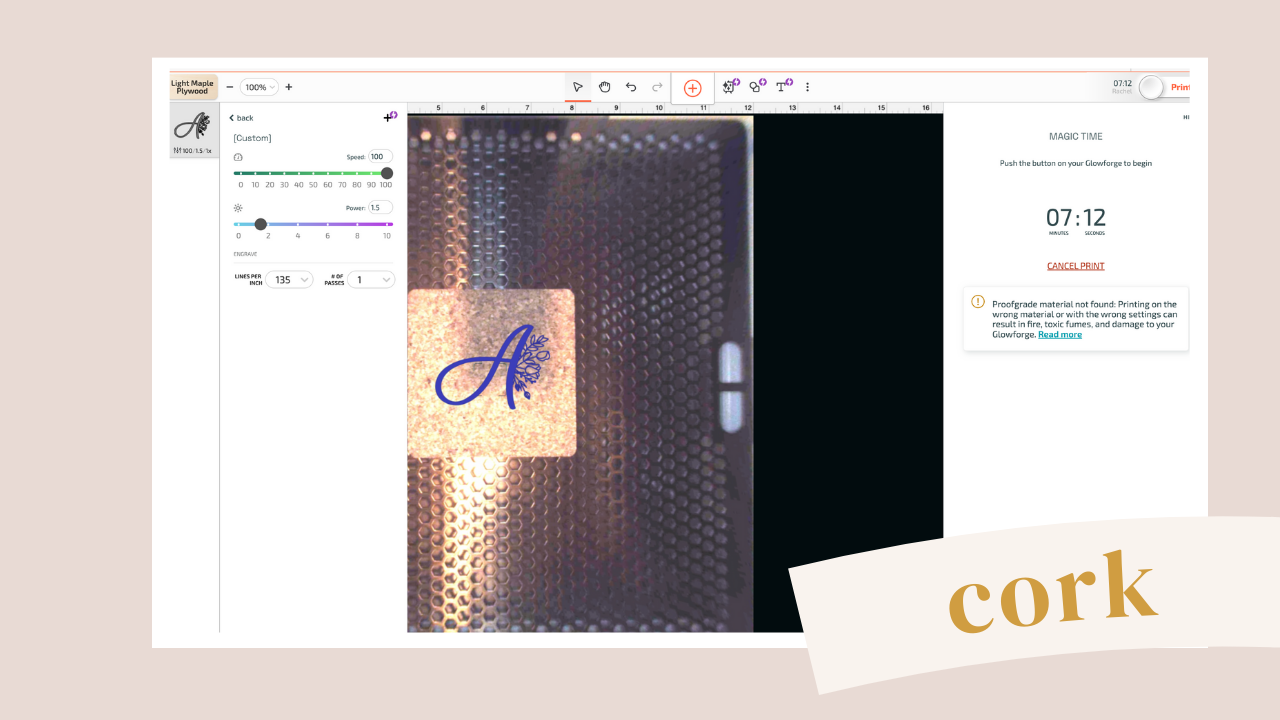
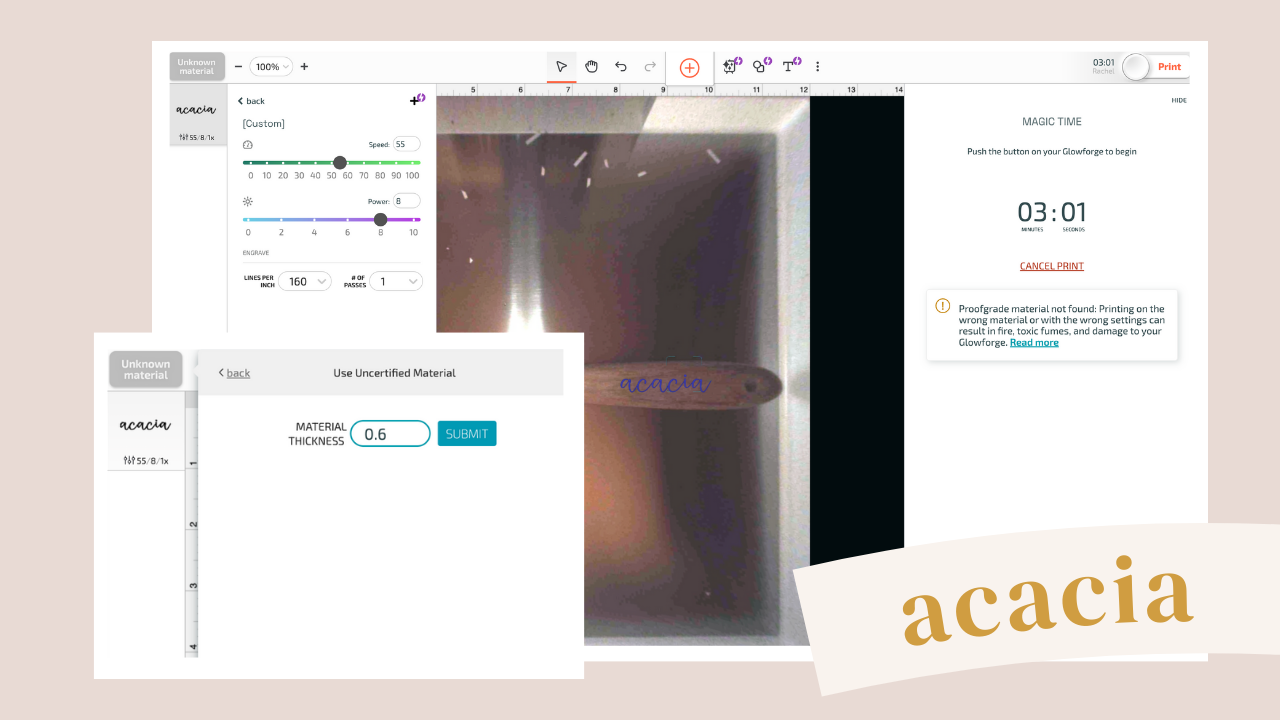
Have you ever wondered about the ideal engrave settings for different materials using your Glowforge Aura? Well, I’ve got you covered! In this video and blog post, I went beyond Glowforge’s Proofgrade materials and I’m sharing the engrave settings that will help you achieve stunning results on bamboo, pinewood, cork, acacia and chipboard. To see this Glowforge Aura tutorial in action, watch my YouTube video below! 😊
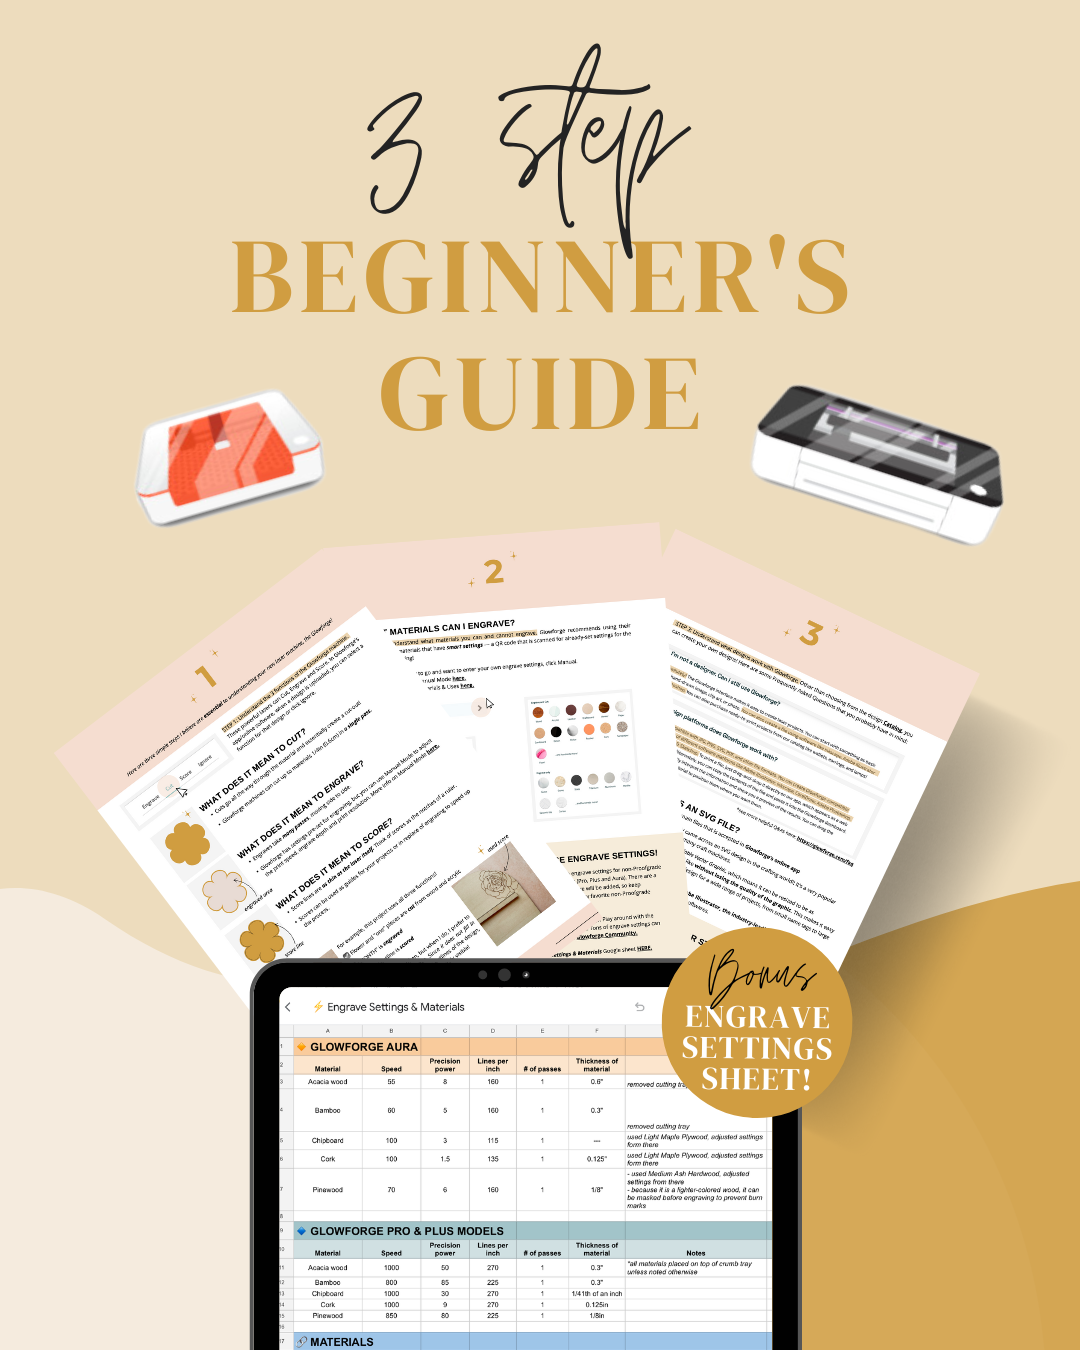
➡️ Want these settings all in one place? Download my BEGINNER’S GUIDE below! ✨
Want to grab my free guide?
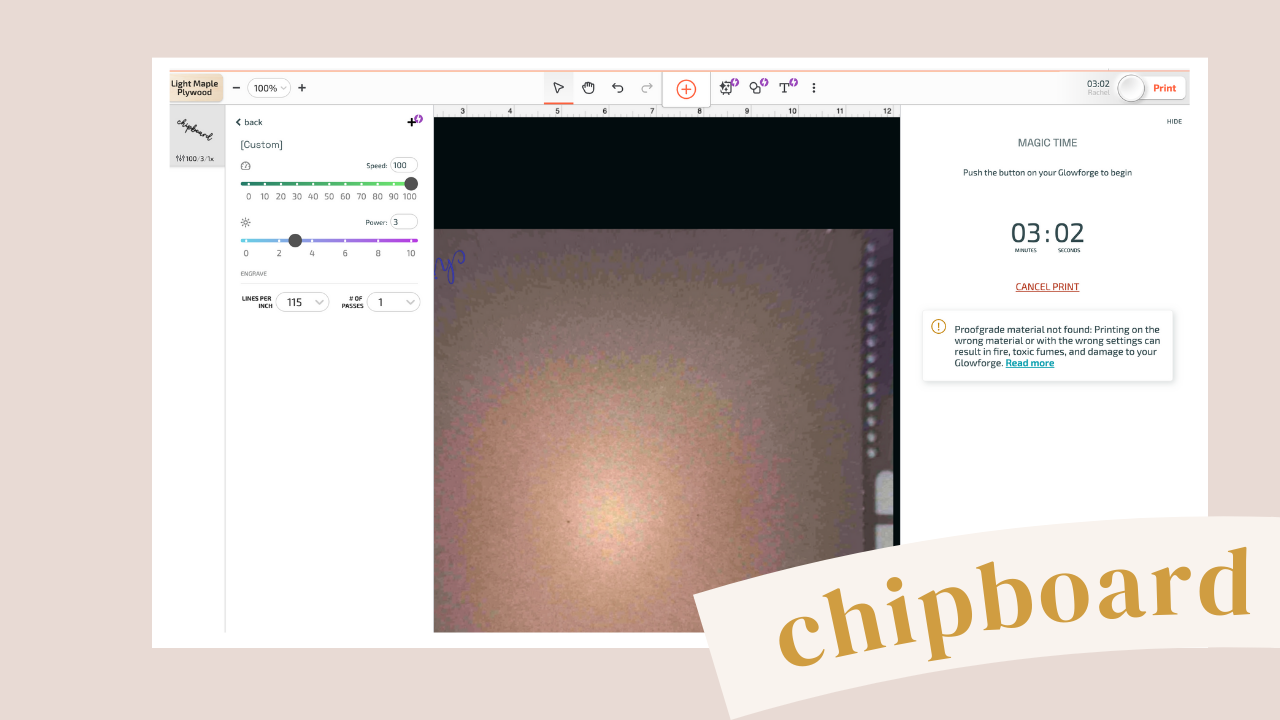
In my Glowforge Aura Engrave Settings Pt.1 video, I’m sharing my first cuts + walking you through how to input these engrave settings using Manual Mode in the Glowforge app. A digital caliper was also a helpful tool in getting these engrave settings.
Remember, these settings are starting points. Depending on the specific characteristics of your material and the desired outcome, you may need to fine-tune the settings slightly. Try engraving on a scrap piece or small portion of the same material to ensure the desired effect before moving on to your final project!


